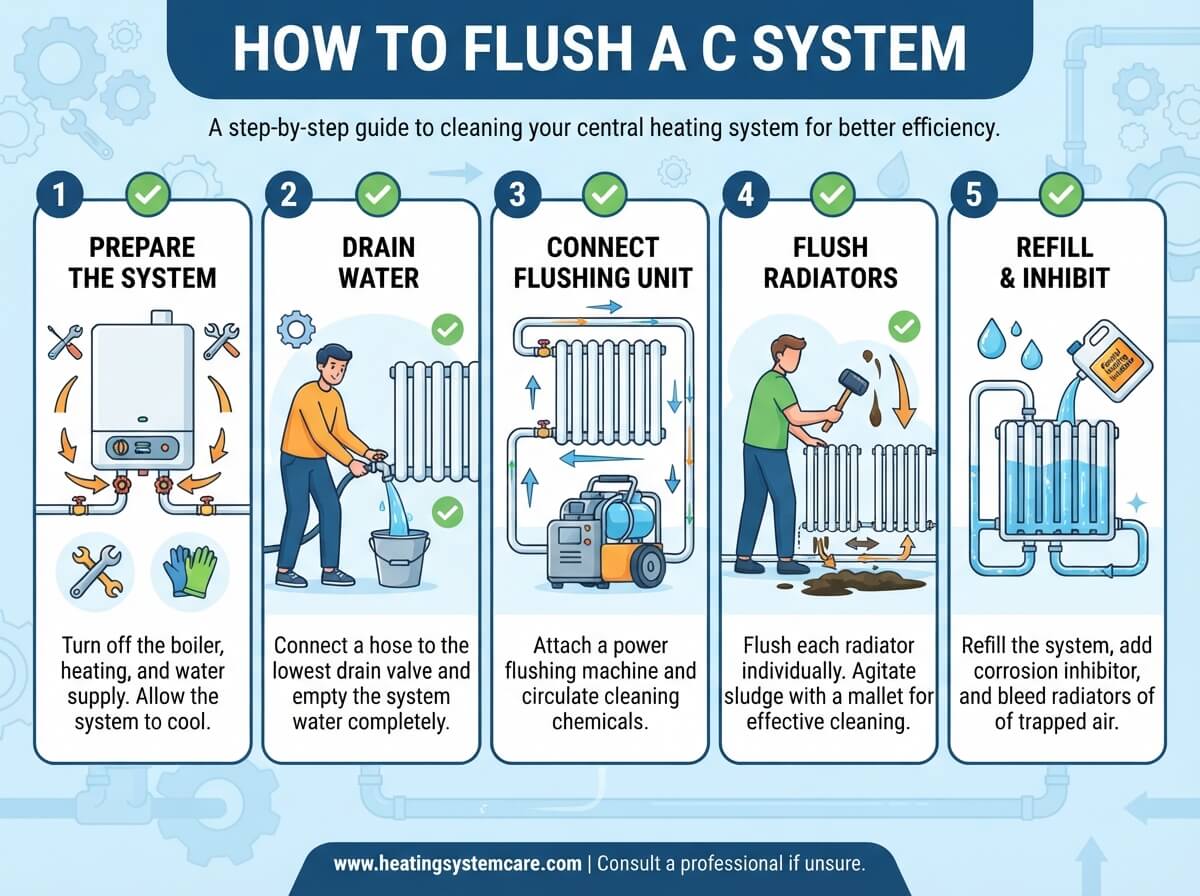
How to Flush a Cooling System?
Your car’s cooling system works hard every single day. It pumps liquid through your engine to keep it from overheating, runs it through a radiator to release heat, and brings that cooler liquid back to do the job all over again. But here’s the thing—after months or years of running, that coolant gets dirty. It picks up rust particles, sediment, and all sorts of gunk that clogs up the works. That’s when you need to flush the whole system out and start fresh.
Flushing your cooling system might sound like something only mechanics should do. But the truth is, you can handle this job yourself with some basic tools and a little patience. This guide walks you through every step so you know exactly what to do.
Why Your Cooling System Needs a Flush
Your cooling system doesn’t just carry pure water. The liquid that flows through it is coolant, which contains water, antifreeze, and various additives that protect your engine. Over time, these additives break down. Rust forms inside the passages. Sediment builds up in the bottom of the radiator. When this happens, your cooling system can’t work as well as it should.
You’ll spot signs that flushing time has arrived. Your engine might run hotter than normal. You could see steam coming from under the hood. Sometimes the temperature gauge climbs higher than it used to. The heater inside your car might not work as strong. Your engine might overheat, especially during hot weather or heavy driving. All of these point to a cooling system that needs cleaning.
Flushing gets rid of all that buildup. Fresh coolant flows better through your engine block, radiator, hoses, and heater. Your engine stays at the right temperature. Your heater works better. Everything runs more smoothly.
What You’ll Need Before You Start
Gather your supplies before you get under the car. You don’t want to be halfway through the job and realize you’re missing something important.
First, grab a drain pan. When you open up the cooling system, coolant will pour out. This liquid is toxic, so you need a proper container to catch it. Don’t let it run all over your driveway. You’ll need to dispose of old coolant at a recycling center later.
Get a socket set and some wrenches. Most drain plugs take standard sizes. You’ll also want some screwdrivers—both Phillips and flat-head kinds help with various clamps and fasteners. A pair of pliers grabs hose clamps firmly. An adjustable wrench handles odd-sized bolts.
Buy fresh coolant. Check your owner’s manual to see what type your car needs. Different vehicles use different colors and formulas of coolant. Using the wrong kind can cause problems, so get the right stuff. You’ll need enough to fill your entire cooling system when you’re done. Most cars take between five and fifteen quarts, depending on engine size.
Get some coolant system flush solution. This special liquid helps break up all the crud stuck inside your radiator and engine passages. You pour it in, run the engine for a bit, then drain it all out. It does the hard work of loosening everything up.
Grab some hoses or a length of tubing that fits your drain plug. This helps direct coolant flow right into your drain pan. A towel or some rags soak up spills and wipe down parts. Safety glasses protect your eyes from splashes.
Safety First—Don’t Skip This Part
Working with a cooling system means working with hot liquid and toxic chemicals. Take precautions seriously.
Never touch anything on the engine when it’s hot. Let your car sit for at least an hour after you drive it before you start draining coolant. A hot engine builds up pressure in the cooling system. Opening it up too soon risks a blast of scalding coolant spraying everywhere.
Wear safety glasses the whole time. Coolant splashing into your eyes hurts bad and causes damage.
Wear gloves to keep coolant off your skin. Yes, modern coolants are less toxic than old ones, but they’re still not something you want touching your body.
Make sure you work on level ground. Get the car up on jack stands if you need to reach the drain plug underneath. Use the jack stands properly and never rely on just a jack to hold up your car.
Coolant is poisonous to animals and kids. Keep your work area blocked off. Dispose of old coolant properly—never pour it down a drain or into the ground. Take it to a recycling center or auto parts store that takes used fluids.
Getting Your Car Ready
Start with the engine completely cold. Open your hood and locate the radiator. This is the big metal box with lots of fins on it, usually at the front of your engine. Most radiators have a cap on top. Turn this cap slowly, maybe a quarter turn at a time, to release pressure. Let any remaining pressure escape gently before you remove the cap fully.
Find the radiator drain plug. This is usually at the bottom of the radiator. It looks like a small valve or bolt. Grab your drain pan and position it right under this plug. Use your wrench or socket to loosen the drain plug by turning it counterclockwise. Turn it slowly at first. Once it’s loose enough, you can usually finish unscrewing it by hand. Coolant will start draining out immediately, so watch your fingers.
Let all the coolant pour out. This might take several minutes. The dirty stuff will drain completely if you wait it out. While that’s happening, you can locate the engine drain plug. Many engines have a separate drain plug on the engine block itself, usually on the lower side of the block. This one also drains coolant. Open this one too and let it drain into the pan.
Some vehicles have the drain plugs in different spots, and some only have a radiator drain. Check your owner’s manual if you can’t find the engine drain plug. It’s not always in the obvious place.
Once all the coolant has drained out, your old fluid is gone. You’ve removed step one of the gross stuff from your system.
The Flush Itself
Now grab your coolant flush solution. Read the directions on the bottle carefully. Different brands work slightly differently. Most tell you to pour the flush solution directly into the radiator.
Fill the radiator back up with water. Use tap water or distilled water—some instructions say distilled is better, but tap usually works fine. Fill it until the water level reaches the filler neck.
Put the radiator cap back on and start your engine. Let it run. The instructions on your flush solution will tell you how long—usually somewhere between five and thirty minutes. The running engine circulates the flush solution through all the passages. It dissolves rust, breaks up sediment, and loosens stubborn buildup. The heat helps everything loosen up faster.
You’ll hear the radiator fan kick on. That’s normal and good. Keep an eye on the temperature gauge to make sure the engine doesn’t overheat. If you see the temperature climbing dangerously high, turn off the engine and let it cool before restarting.
After the proper time passes, turn off the engine and let it cool completely. This usually takes at least thirty minutes. Then you’re ready to drain again.
Draining the Flush
Open the radiator cap again, slowly and carefully. Then drain all the flushed-out liquid exactly like you did before. Open both the radiator drain plug and the engine block drain plug. Let everything drain into your pan.
Look at what comes out. If you did everything right, this stuff should look dirty and cloudy compared to the fresh coolant you’ll put in. You’re literally draining out all the rust and sediment that was clogging your system. That’s what you came here to do.
Keep that drain pan under the plugs. Sometimes the second drain doesn’t flow as fast as the first one. Wait until nothing comes out anymore. You want to get all the flush solution out of your system before you add new coolant.
Rinsing Clears Out the Rest
Here’s where a lot of people stop, but taking one more step makes a huge difference.
Fill the radiator back up with plain water one more time. No flush solution this time—just water. Put the cap back on and run the engine for another ten or fifteen minutes. This rinses out any leftover flush solution and loose particles that are still floating around.
Turn off the engine, let it cool, and drain everything out again. Open both drain plugs and let all that rinse water drain out completely.
Check what you’re draining now. It should look much cleaner than the flushed-out liquid. You might do this rinse step twice if the water still comes out dirty. Some folks rinse multiple times to make sure everything is clean. The more thorough you are, the better your system will run afterward.
Putting Fresh Coolant Back In
Now comes the nice part—filling your cooling system with fresh, clean coolant.
Make sure you know what type of coolant your car needs. Yellow, pink, red, green—different types exist for different cars. Your owner’s manual tells you exactly what to use. Mixing the wrong types can cause problems. Some people mix coolant at half strength by adding water, while others buy pre-mixed coolant that’s ready to pour right in. Follow what your car’s manual recommends.
Start pouring coolant into the radiator. You’ll see the level rise. Keep pouring until it reaches the bottom of the filler neck. Put the radiator cap back on.
Some cars have a separate coolant reservoir tank. This white plastic tank sits off to the side of the engine and holds extra coolant. Fill this up to the proper level too. The tank usually has marks showing where the liquid should reach.
Start your engine. Let it run for a few minutes. The thermostat opens up and the coolant flows through the whole system. You might see the level in the radiator drop a bit as the system fills all the passages. Turn off the engine and let it cool. Then check the level again and top off if needed.
Getting Air Out of the System
Sometimes air pockets get trapped inside your cooling passages. These pockets can cause problems with heating and cooling.
Run the engine with the radiator cap off for a few minutes. You might see the liquid bubble or the level drop as air escapes. This is fine and expected. Let it happen.
Some cars need bleeding plugs opened to let air out. Check your owner’s manual to see if yours does. These are usually small bleeds screws on the engine or on radiator hoses. Open them slightly while the engine runs, then close them once only coolant comes out.
Testing Your Work
Drive your car carefully for a short distance. Pay attention to how the engine runs. The temperature gauge should settle in at the normal range where it always sits. The heater should blow warm air inside your car. Everything should feel normal.
Let the engine cool. Check the level in both the radiator and the reservoir. Top off if needed. It’s not unusual for the level to drop a tiny bit during that first drive as the system settles.
After a few days, check everything again. Look under the car for any leaks. If everything looks dry and clean, you’ve got the job done.
Common Problems and How to Fix Them
The engine still runs hot. You might not have drained all the old coolant completely. Next time, be more patient and let it drain for a good long time. You also might have an air pocket trapped in the system. Run the engine with the cap off again to let air escape.
You see drips under your car. One of the drain plugs might not be tight enough. Tighten them by hand or with a wrench. Make sure you didn’t over-tighten any hose clamps. Sometimes a small drip comes from worn-out hose clamps. Tighten them slightly or replace them with new ones.
The heater still doesn’t work right. A heater that stays cold after a flush might have a problem inside the heater core itself. Or you might have a thermostat that’s stuck open. These bigger problems need a mechanic’s help.
Steam comes from under the hood. Turn off the engine right away and let it cool completely. Check the coolant level. If it’s low, you might have a leak somewhere. Look carefully at all the hoses and connections. Tighten anything that looks loose.
How Often Should You Flush
Most cars benefit from a coolant flush every thirty to forty thousand miles or every few years, whichever comes first. Some newer vehicles use different types of coolant that last longer. Check your owner’s manual for the exact schedule for your car.
If you live in a hot climate or do a lot of towing, more frequent flushes help keep your engine protected. If you notice rust forming in your coolant or see sediment, do a flush even if you haven’t hit the mileage yet.
Why This Matters for Your Car
Flushing your cooling system does more than just make your engine run cooler. It protects your whole car. Clean coolant helps your water pump last longer. Fresh antifreeze protects against rust and corrosion. A clean radiator transfers heat better. Your entire engine stays healthier.
Regular maintenance like flushing stops small problems from becoming big, expensive ones. An engine that overheats can suffer permanent damage. Rust can eat through hoses and cause leaks. Sediment clogs passages and reduces cooling efficiency. None of these things are cheap to fix.
On the other hand, spending an afternoon flushing your cooling system costs just thirty or forty dollars in materials and saves you thousands in engine repairs down the road. It’s one of the best preventive maintenance jobs you can do yourself.
Wrapping Up
Flushing your cooling system is a straightforward task that any car owner can tackle. You don’t need special training or expensive tools. Just follow the steps, take your time, and pay attention to safety. Your engine will thank you with years of reliable, cool-running performance.
The key is being patient. Let the coolant drain completely. Let the flush solution work its magic inside your system. Rinse thoroughly to get everything out. Then fill with fresh coolant and take it easy for the first drive. Do all this right, and you’ve just added years to your engine’s life while saving hundreds or thousands on repairs.
Get out there, grab your tools, and give your cooling system the cleaning it deserves. Your car will run cooler, work better, and last longer. That’s a win for everyone.