How To Install Vland Healights On 2020 F-150?
Upgrading the front lighting on a truck can change its appearance and improve nighttime visibility. Learning how to install VLAND headlights on an F-150 allows owners to refresh their truck’s aesthetic while utilizing modern LED technology. This process involves removing the existing factory assemblies and securing the new units in place. The following guide provides a neutral overview of the steps required to complete this modification safely and effectively.
Key Takeaways
- Proper preparation and the right tools prevent damage to truck body panels.
- Most VLAND headlight kits use a plug-and-play design to simplify electrical connections.
- Removing the front grille is often necessary to access hidden mounting bolts.
- Aiming the beam pattern correctly ensures road safety and prevents blinding other drivers.
- Testing all lighting functions before reassembling the truck is a critical step.
Preparation and Necessary Tools
Required Equipment for the Swap
A successful installation starts with gathering all necessary tools before beginning the work. You will typically need a metric socket set, specifically sizes 7mm, 10mm, and 12mm. A ratchet with a short extension is helpful for reaching bolts in tight spaces. A plastic trim removal tool is essential for prying off plastic fasteners without scratching the paint. These tools are inexpensive and prevent damage to the delicate clips around the grille. Having a clean workspace and a soft towel to place the new headlights on will also protect the lenses from scratches.
Safety Precautions Before You Begin
Safety remains the primary concern when working on any vehicle electrical system. Always turn the ignition off and remove the keys from the truck before starting the project. This prevents accidental shorts in the wiring harness. If the truck has a battery management system, some owners prefer to disconnect the negative battery terminal. This ensures that no power flows to the headlight area during the removal process. Always wear safety glasses to protect against road grime or debris that might fall from the undercarriage.
Removing the Factory Headlight Assemblies
Accessing the Grille and Trim Components
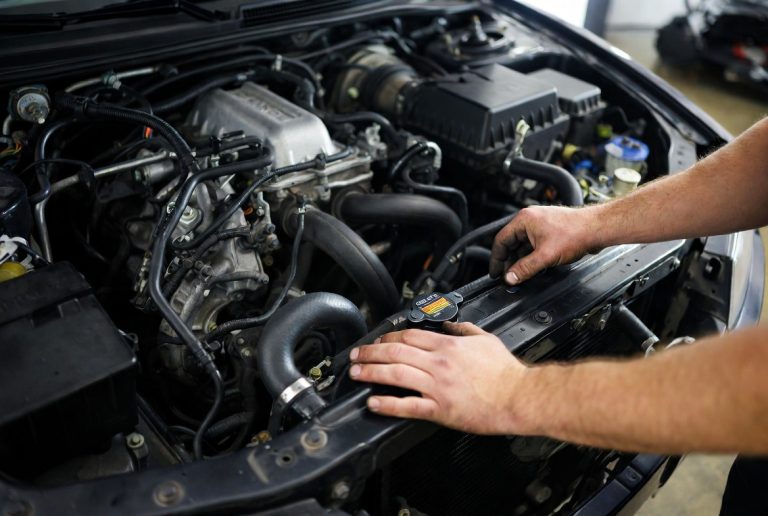
The factory headlight assemblies on this truck are partially covered by the front grille and trim pieces. You must remove these parts to reach the hidden mounting bolts. Begin by opening the hood and removing the plastic radiator cover shield. Next, locate the fasteners along the top of the grille. Use your trim removal tool or socket set to carefully loosen these points. Once the top is free, gently pull the grille forward to release the clips holding it to the bumper. Take your time, as these plastic clips can be brittle and prone to snapping.
Disconnecting the Electrical Harness
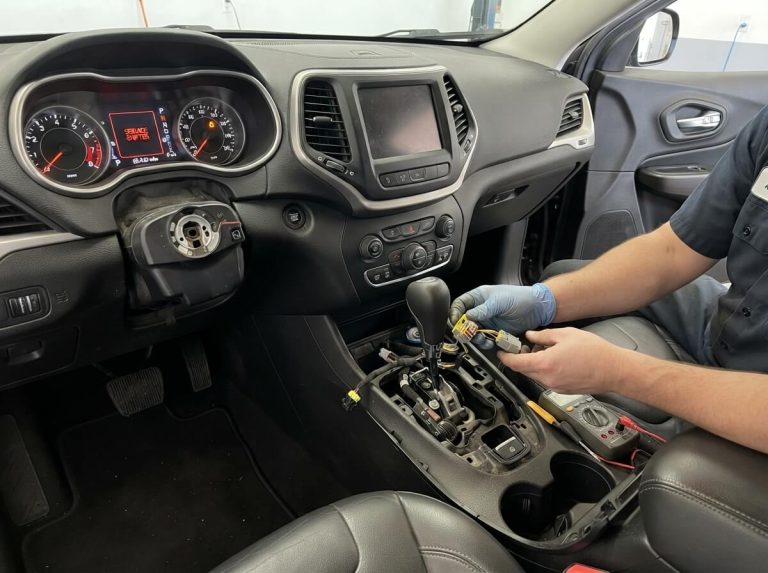
With the grille moved aside, you will see the bolts securing the headlight housing to the fender and the support frame. Remove these bolts and keep them organized in a tray so they do not get lost. Gently slide the headlight assembly forward until it clears the body alignment pins. Once the housing moves freely, turn it slightly to reveal the electrical connectors on the back. Press the release tab on each plug and pull them apart. Avoid pulling on the wires directly, as this can damage the internal copper strands. Set the factory headlights aside in a safe place.
Installing Your New VLAND Headlights
Wiring and Plug-and-Play Connections
VLAND headlights are designed to work with the existing electrical layout of the truck. Inspect the back of the new assembly to identify the corresponding plugs. Match the connectors from your truck to the inputs on the new unit to ensure compatibility. The connectors typically feature a keyed shape that only fits in one orientation. Listen for a distinct click when you push the plugs together. This sound confirms the locking mechanism is engaged and the connection is secure. If the kit includes additional modules or resistors, ensure they are tucked away from moving parts or hot engine components. Secure these extra components with zip ties to keep them from vibrating or rubbing against the chassis during travel. Proper cable management protects the wiring harness from heat damage and prevents annoying rattles while you drive.
Securing the Housings to the Truck
Align the new headlight assembly with the mounting points on the fender and support frame. Slide the housing into place, ensuring that the alignment pins sit flush in their respective holes. If the unit does not slide in easily, check for any wires that might be pinched behind the assembly. Do not force the housing if you feel resistance, as this can damage the plastic pins or the surrounding paint. Reinstall the original bolts by hand to prevent cross-threading. Once the bolts are started, use your socket wrench to tighten them until they are snug. Avoid overtightening, as the plastic tabs on the headlight housing can crack under too much pressure. Hand-tightening until firm is usually sufficient to keep the assembly stable and vibration-free. If the housing feels loose after the bolts are tight, verify that the rubber weather seals are seated correctly against the fender edge.
Testing and Adjusting Your Lighting
Verifying Proper Functionality
Before you reinstall the grille and trim, you must verify that the lights operate correctly. Turn the headlight switch to the “on” position to check the low beams. Cycle through the high beams, turn signals, and parking lights to ensure every function works. Verify that the turn signals blink at the normal speed rather than flashing rapidly. Fast blinking often indicates an electrical load issue that requires checking the resistor connection. Observe the LED strips or daytime running lights if the model includes them. If any light fails to turn on, check the connection at the plug. A loose or dirty connection is the most common reason for a non-functional light after installation. Disconnect the plug, inspect the pins for debris, and push the connector back in until it clicks. You should also check the truck’s fuse box if a specific function remains inactive after re-seating the plugs.
Aiming the Beam Pattern
New headlights often require adjustment to ensure the beam points at the correct height. Park the truck on a level surface about 25 feet away from a flat wall. Mark the center of the beam pattern with masking tape on the wall. This visual guide helps you maintain consistent light output. Locate the adjustment screws on the back of the headlight housing. Turning these screws moves the beam up, down, or side to side. Adjust the beams so they are slightly below the mark you made on the wall. This prevents the lights from shining directly into the eyes of oncoming drivers while keeping the road ahead well-lit. Double-check the aim after a short drive to ensure the settings remain stable. If the beam pattern appears uneven, adjust the horizontal screw to align the light spread across the lane. Consistent beam alignment provides the best visibility during night driving and keeps your lighting within legal standards.
Frequently Asked Questions
Do I need to modify my truck’s wiring harness?
Most VLAND headlights are designed as direct replacements. They use factory-style connectors that plug directly into the existing harness without the need for cutting or splicing wires.
Is it necessary to remove the front bumper?
While some installations are easier with the bumper removed, it is often not required. Most owners can access the necessary bolts by removing the grille and the top trim pieces.
Will these headlights void my factory warranty?
Modifying electrical components can sometimes impact specific warranty claims related to the lighting system. It is wise to review your vehicle documentation or consult a service advisor if you have concerns about warranty coverage.
How do I fix a flickering light issue?
Flickering usually indicates a poor electrical connection or a voltage mismatch. Ensure the plugs are fully seated and that any included resistor modules are securely grounded or mounted according to the manufacturer instructions.
Are these aftermarket headlights street legal?
Many aftermarket headlights are designed for off-road use or meet specific regional standards. Check the product description or local traffic regulations to confirm if the specific model you choose is approved for street use in your area.
Summary of the Installation Process
Installing VLAND headlights on an F-150 is a manageable project for those who are patient and organized. The process involves removing the grille to access the factory housing, unplugging the existing harness, and mounting the new equipment. Using the right tools helps prevent damage to the truck body. After securing the new units, verifying the electrical connections ensures all lights function as expected. Finally, taking the time to aim the beam pattern keeps the truck safe for road use. Following these steps helps achieve a clean, professional finish for your lighting upgrade.

Peterson is an automotive enthusiast and auto parts reviewer with a passion for vehicle maintenance, upgrades, and performance. He enjoys researching and testing car parts, tools, and accessories to help drivers make informed buying decisions. Through AutoPartsTalk.com, Peterson shares honest reviews, practical maintenance tips, and expert guides to keep vehicles running safely and efficiently.